


This 70's Tele was in for a re-fret. So let's pull up those frets and get started! Not so fast. The rumors are true! Fender drove their frets in from the side of the fingerboard up until 1984 (some say 1982.) So what do we do? You have to drive them out sideways, the same way they came in, to prevent severe chipping of the board. So here's how we do it!

First we scored the finish, where the fret meets the neck, with a sharp tool to minimize chipping when the fret is driven out. This is no easy task on a 70's neck covered in very thick finish, which has been nicknamed "Fullerplast," after George Fullerton from the original Fender days.

Next we took a sharpened steel punch and hammered a small divot into the top of the fret near the treble side. This will give the punch a place to catch when we hammer the fret out. You can see that the fret has some solder on it. This is from where we heated it to loosen up any finish or gunk that would keep the fret from sliding out.

You can see how the punch fits into the divot and is ready to be hammered out. The frets went in from the bass side, so we hammer them back out the same way.

The fret will take quite a few blows sometimes, before it starts to move. Above you see the fret after being hammered out about halfway. Some finish damage is almost inevitable, and a touch up will be needed later.
Here is a video of one fret being hammered out.

After all the frets are removed and finish is carefully filed at the fret slot edges to prevent more chipping, we continue on with our normal re-fret. Here is a shot of a new fret after installing, leveling, dressing the ends, re-crowning, and polishing. Some original finish wear is also visible.
We hope you found this interesting!
New tall frets on a cool vintage instrument really make for a good "player." If you have low flat frets come on in and we will be happy to do the same for your instrument!
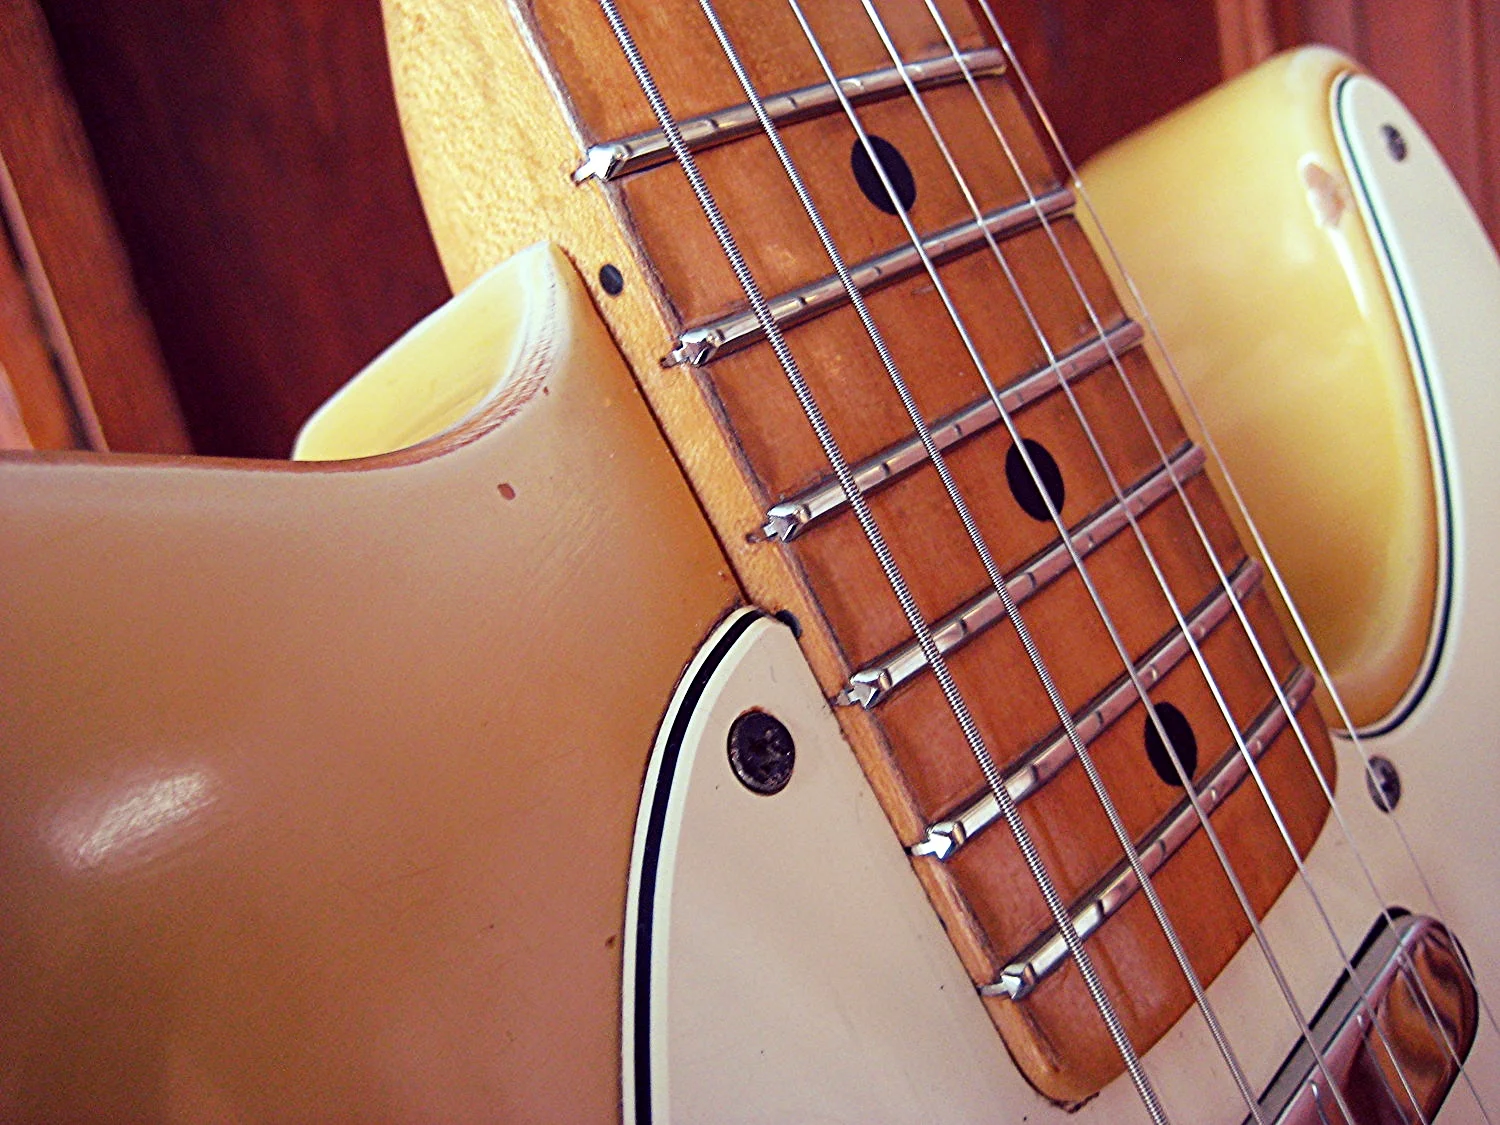
Big, tall, level, smooth, Stew Mac 154 frets make bending effortless!